Fleece Blanket Guidelines
|
Scroll down for "Blankets That Require a Sewing Machine"
|
|
Project Linus Chapters are instructed by our National Office
to reject blankets that are not of good quality.
Also, blankets must be free of contaminants -
smoky & musty smells, scented detergent, softener, dryer sheets; and pet hair.
to reject blankets that are not of good quality.
Also, blankets must be free of contaminants -
smoky & musty smells, scented detergent, softener, dryer sheets; and pet hair.
Your attention to these guidelines will insure that our volunteers
do not have to spend many hours repairing fleece blankets before
they can be given to children who need a warm blanket hug.
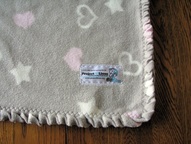
Our local hospitals will no longer accept fleece blankets for preemies.
Please make fleece blankets:
54" x 60" (1 1/2 yards of fleece) 60" x 72" (2 yards of fleece)
Please don't buy just one yard of fleece for a fleece blanket. The blankets are too skinny.
do not have to spend many hours repairing fleece blankets before
they can be given to children who need a warm blanket hug.
Our local hospitals will no longer accept fleece blankets for preemies.
Please make fleece blankets:
54" x 60" (1 1/2 yards of fleece) 60" x 72" (2 yards of fleece)
Please don't buy just one yard of fleece for a fleece blanket. The blankets are too skinny.
General Guidelines
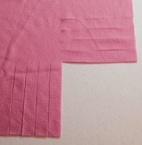
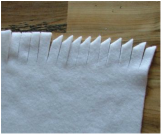
for Fleece Blankets We prefer single layer fleece blankets with straight fringe - NO KNOTS. Before fringing, neatly cut off the sevages (the two edges that are curled or wavy with tiny needle punched holes near the edges). If you plan to fringe all four sides, cut out all four corners as shown - size depending on the length of the fringe; 3" corners for 3" fringe, 4" corners for 4" fringe, etc. This is very important - if you don't cut out the corners the blanket will not lay flat. |
|
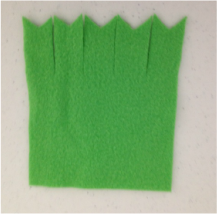
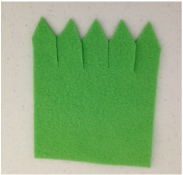
Optional Fringe Ideas
|
Jungle Grass
|
Picket Fence
|
Instructions for Knotted Fringe Blankets
We prefer single layer blankets without knotted fringe.
However, if you do knot the fringe, please follow these directions
for a good quality blanket that we can give to a child.
Follow directions above about trimming selvages.
|
Cut out corners when fringing all four sides of a blanket.
Make a cardboard template for a guide for cutting out the corners: 5" square for 5" fringe, 2" square for 2" fringe, etc. If you don't cut out the corners when fringing all four sides, the blanket will not lay flat. It will curl up at the corners and look more like a bowl or basket than a nice flat blanket. |
Single Layer Knotted Fringe Blankets
|
Double Layer Knotted Fringe Blankets
|
Blanket Finishes That Require a Sewing Machine
__________________________________________________________________________________________
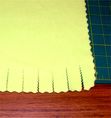
Instructions for Braided Finish Fleece Blankets
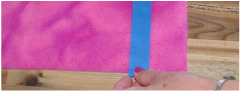
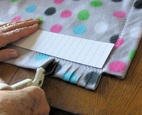
Square up fleece and remove selvage edges before starting to make a Braided Finish Blanket. Cut out 3" squares from all 4 corners. This is very important. The Braided Finish Blanket will not lay flat if the corners are not removed. Place a strip of masking tape 3" from the edge of all four sides. Turn up the fleece to the meet the masking tape and pin securely. |
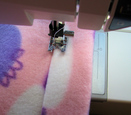
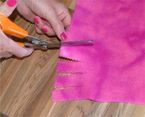
Sew with a zigzag stitch directly over the edge of the turned up fleece.
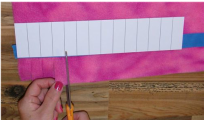
Cut 1/2" wide fringe. Don't cut through the stitching and be sure to stop no further away from the zigzag stitch than 1/4".
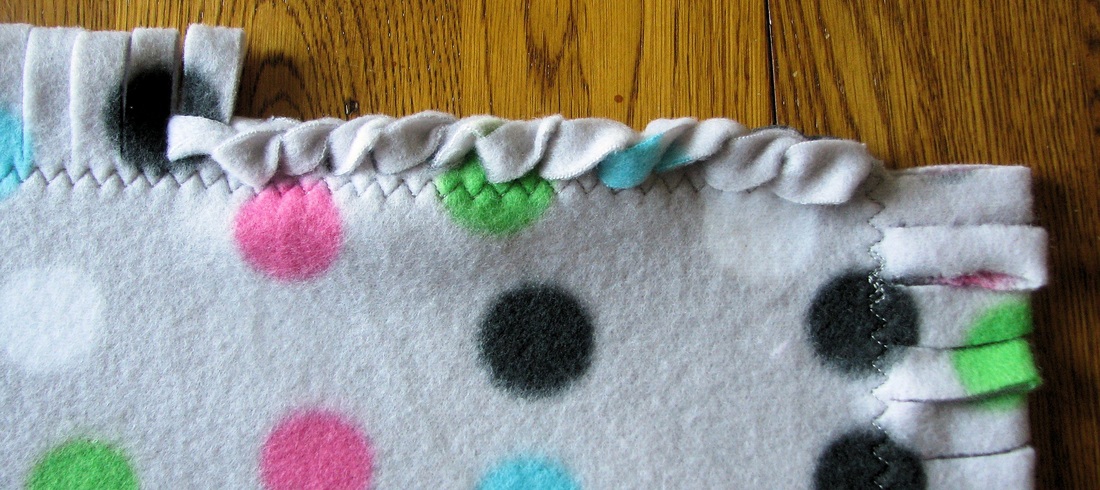
Use a large crochet hook or your fingers to pull the loops through to make the braid.
When you get back around to where you started, pull the first loop through the last loop and secure with needle and thread. |
___________________________________________________________________________________________
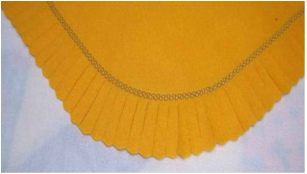
Single Layer Texas Fleece Blanket (Pat Vanderwater)
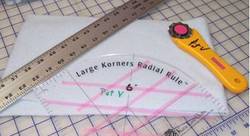
If you don't have a corner ruler you can use a dinner plate as a guide to draw the curved corners.
|
|